Tutorial: How to Run Our First ZIO Project With IntelliJ IDEA?
Introduction
IntelliJ IDEA is a popular IDE for Java developers. It is a powerful tool for developing Java applications. Fortunately, not only does it support the Java language, but it also supports many other languages, including Scala.
Prerequisites
We assume that the reader has already installed IntelliJ IDEA. To download the latest version of IntelliJ IDEA, visit IntelliJ IDEA download page.
Installing Scala and ZIO plugins
To add the Scala support for IntelliJ IDEA, we need to install the Scala plugin. This plugin supports projects that are written in Scala along with the SBT build tool like the ZIO projects.
Besides the Scala plugin, in this tutorial we will also use the ZIO plugin, to create a new ZIO project from predefined templates.
Both of these plugins are available in the IntelliJ IDEA marketplace. We should follow these steps:
- Open the IntelliJ IDEA settings by pressing the Ctrl+Alt+S key combination.
- Click on the Plugins tab.
- Click on the Marketplace tab.
- Search for the Scala plugin and click on the Install button.
- Search for the ZIO for IntelliJ plugin and click on the Install button.
- Finally, we might need to restart IntelliJ IDEA.
Creating a New Project
To create a new ZIO project, we will use the ZIO for IntelliJ plugin. This plugin provides a new project template that we can use to create a new ZIO project.
First, click on the File > New > Project ... menu. This will open a dialog that lets us choose the project type:
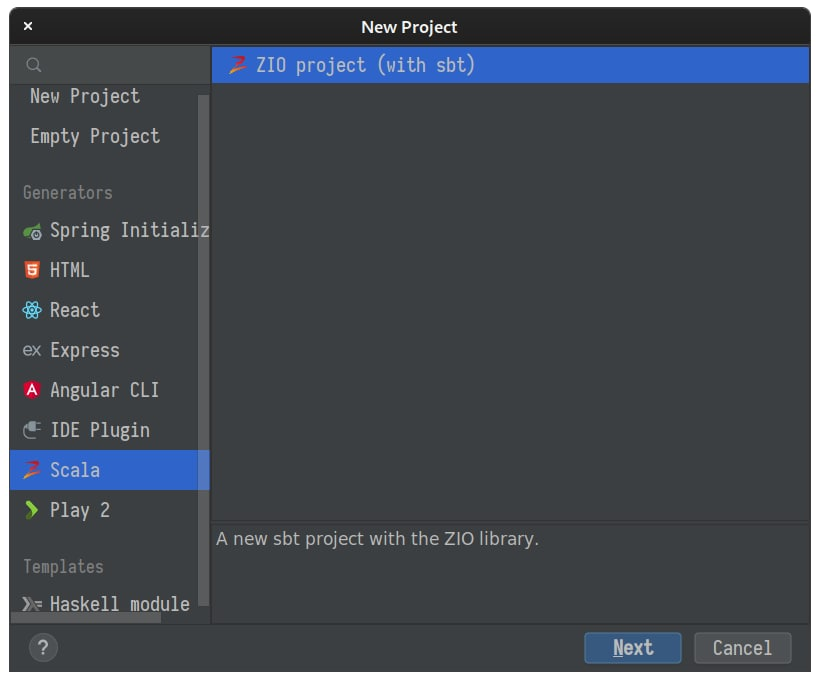
Then, we can choose the ZIO project (with sbt) project type. It will create a new ZIO project with the sbt build tool:

It asks us to choose the project name, its location, the ZIO version and other related settings. After entering the project details, we can click on the Create button:
It will create a new ZIO project and open it in the IntelliJ IDEA. From here, we can start working on the project.
Running the Application
IntelliJ IDEA provides a green run button beside any classes that is executable. So if we open the src/main/scala/Main.scala file, we can see the run button. By clicking on that we can see that the IntelliJ IDEA start to compile and run the Main class.
Note:
At the time of writing this tutorial, the ZIO for IntelliJ doesn't provide a right template for ZIO 2.x projects. So let's write our own Main class:
Running ZIO Tests
IntelliJ IDEA can run tests in the test directory. Let's create a new test class ExampleSpec and add it to the src/test/scala directory:
import zio.test._

object ExampleSpec extends ZIOSpecDefault {
  def spec =
    suite("spec")(
      test("test1") {
        assertTrue(true)
      },
      test("test2") {
        assertTrue(false)
      }
    )
}
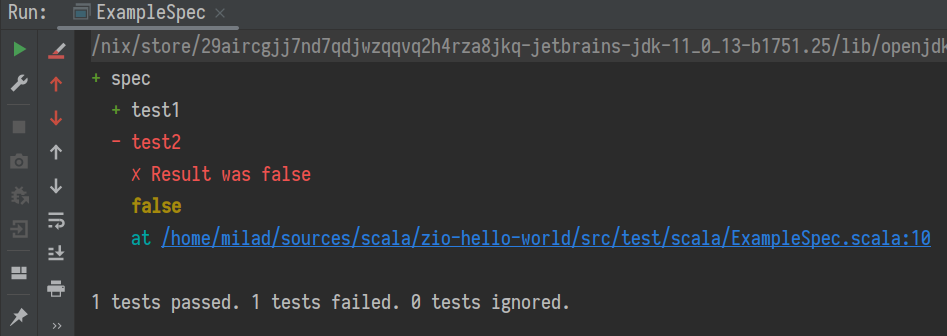
The IntelliJ IDEA detects the tests and places a run button beside them. So we can click on the run button, and it will run the tests:
Conclusion
In this tutorial, we have learned how to create a new ZIO project in IntelliJ IDEA. Then we learned how to run ZIO applications and ZIO tests in IntelliJ IDEA.